Welcome back to the workshop! Today I’m taking you through the key stages of my Chopper (from live-action Ahsoka) build: from the raw 3D prints, through orange primer, all the way to seam-filling and final detail paint and electronics.
1. 3D-Printed Hull Assembly
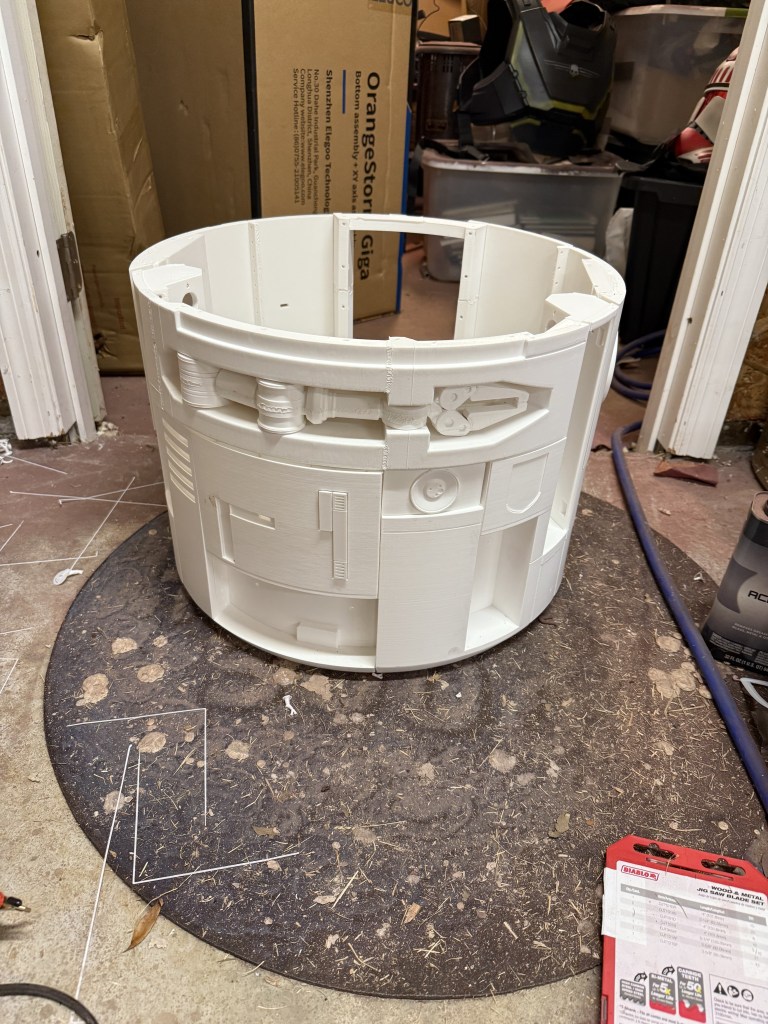
After printing all the panels on my Elegoo OrangeStorm Giga and Bambu Labs Printers, I assembled them into Chopper’s cylindrical body. The white PLA parts snap together cleanly, but you can already see the layer lines that will need smoothing. I used a combination of body filler and acrylic modeling past to fill the seams.

2. First Coat: Primer
I sprayed the assembled dome and side panels with an automotive orange primer. This helps reveal any imperfections and gives me that base color tone for the final weathered finish.

3. Detail Paint
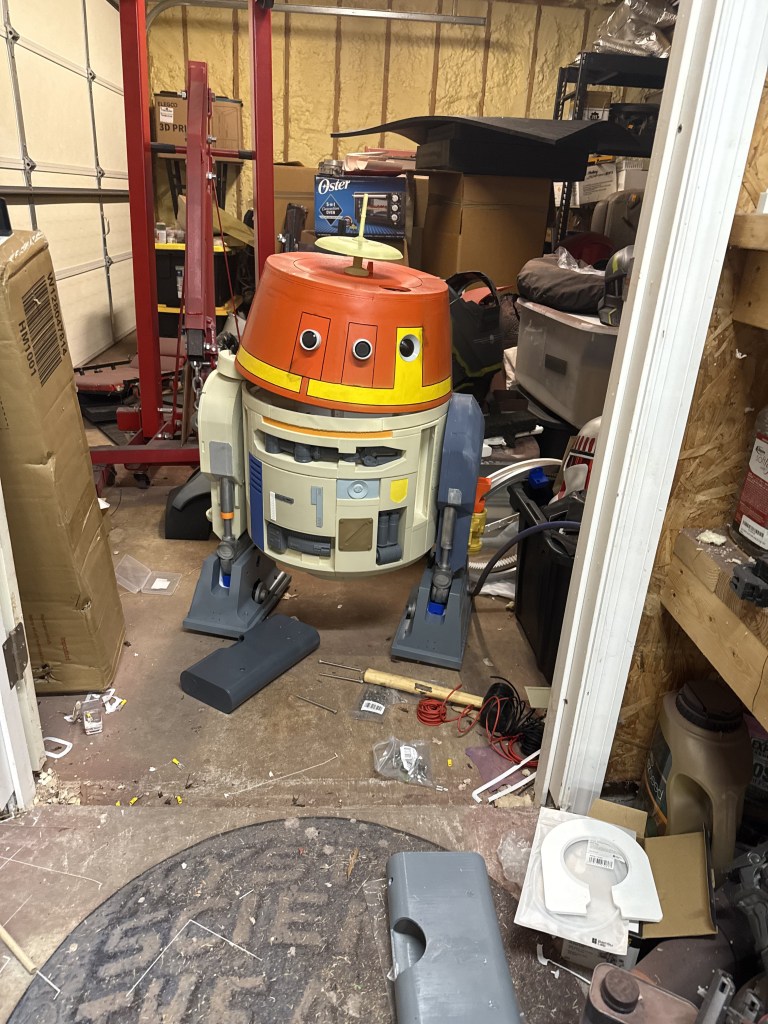
Next up: masking and blocking in the bright yellow accent panels. As well as the other details that bring Choppers personality to life. I used a combination of airbrushes and the Sharpie paint markers to get the detailed spots.

4. Adding the Legs
The legs attached to the main body via long Allen bolts and using wing nuts on the inside so that you can move his position from standing to driving.

5. Adding the electronics
So this was probably the hardest part of the build. I followed a lot of the parts list from Michael Baddeley’s Patreon for this part. Highly recommend looking into his page, he has all the files and instructions for the electronics. I went a different direction with some RC stuff I had laying around and used an Arduino to drive the various servos and 12v motors. I hooked the Arduino to just a basic controller I got from the hobby store. A 6-channel Spektrum DXs. It drives the dome, two drive motors, the head wobble motor and the arm servo. I had quite a bit of help from ChatGPT on the code, but I am super happy with this for my first build. Check out my Instagram or TikTok for the full videos!
