This has taken a while to get posted so sorry about that. This is hopefully a step by step walk through of how to do a valve adjustment on any OM617.
A couple of things you will need for this:
- Two 14mm wrenches to be able to turn the adjustment nuts
- A valve cover gasket
- a set of feeler gauges
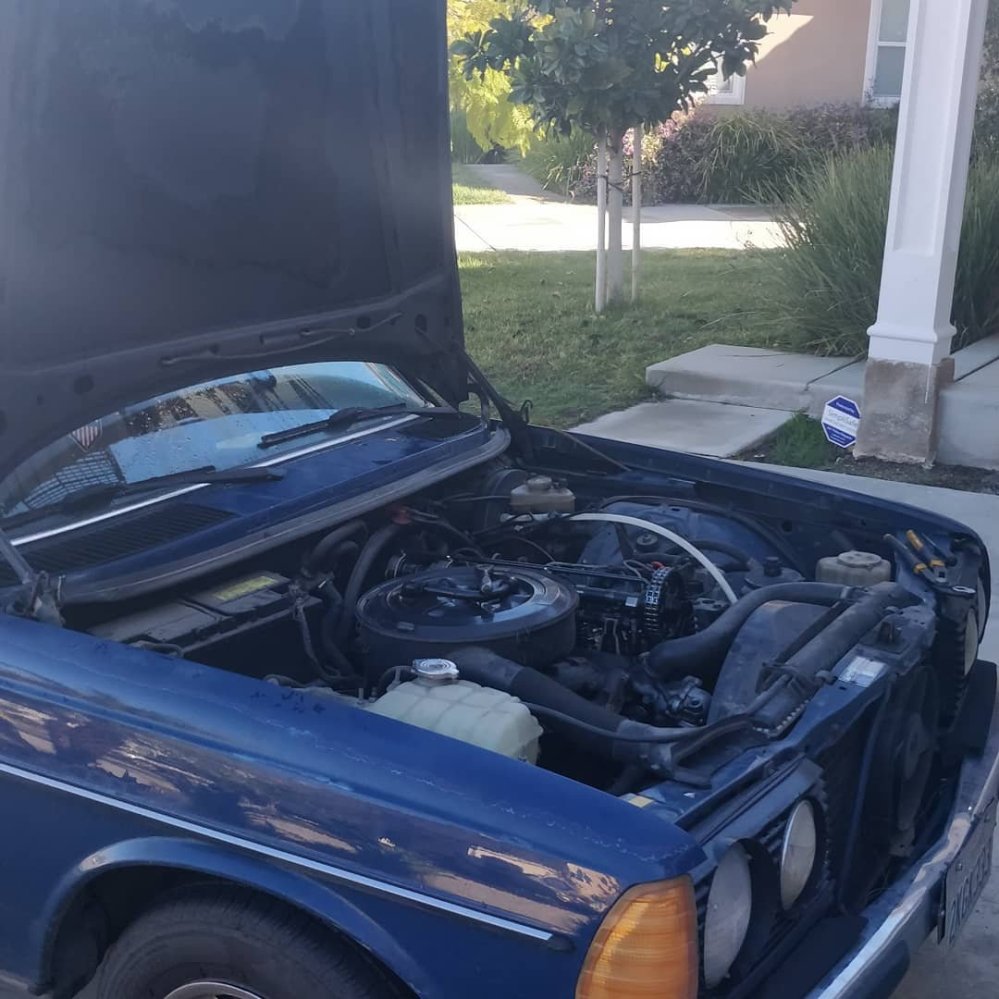
To start I always like to open up the hood straight up so that you do not have to bend over the whole time. There is a set of locks on the hood hinges that you open to be able to do this. It is easiest to do with two people but, you can do them one at a time while pushing up on the hood as well.
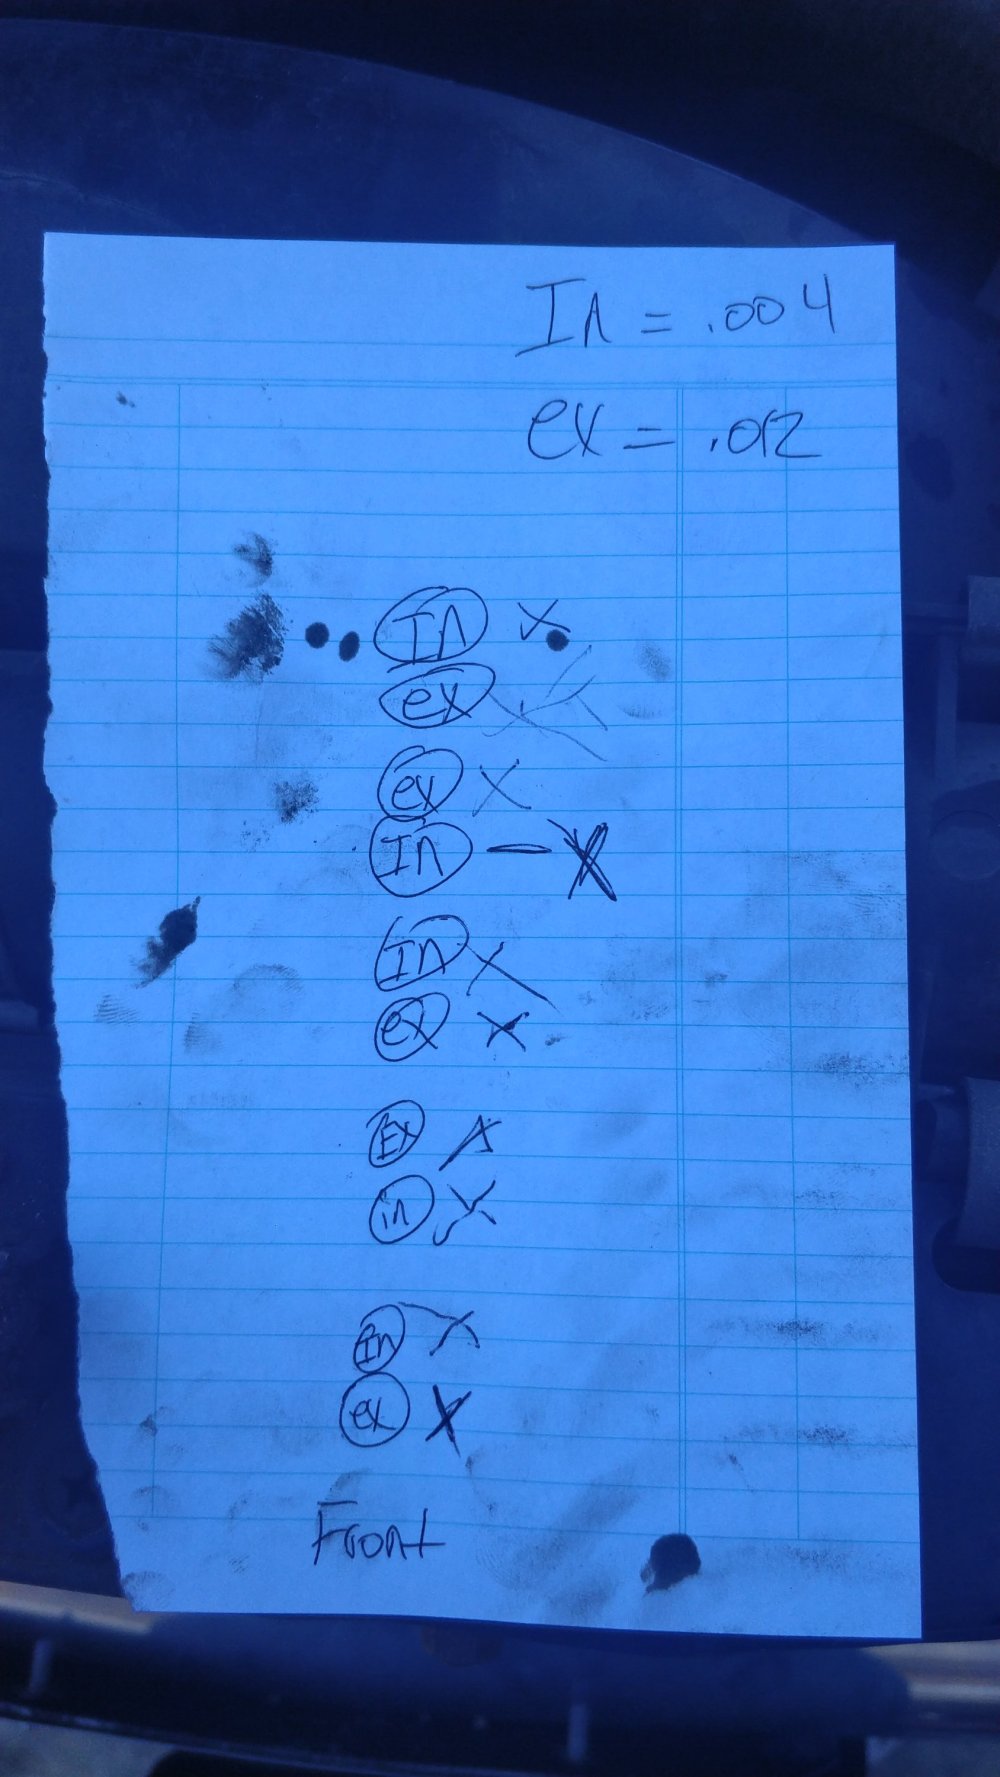
 Next draw the valves like below. Doesn’t have to be pretty you just need to be able to mark off the valves you have done. As you can see the intake valve clearance needs to be .004 inches and the exhaust is .012. Find these two on your set of feeler gauges and keep them out. It is also nice to mark them with different color tape so you can easily recognize which is which when they have oil on them.
If you get lost you can always look at where the intake manifold and exhaust manifold are hooked up to see which valve goes to which.
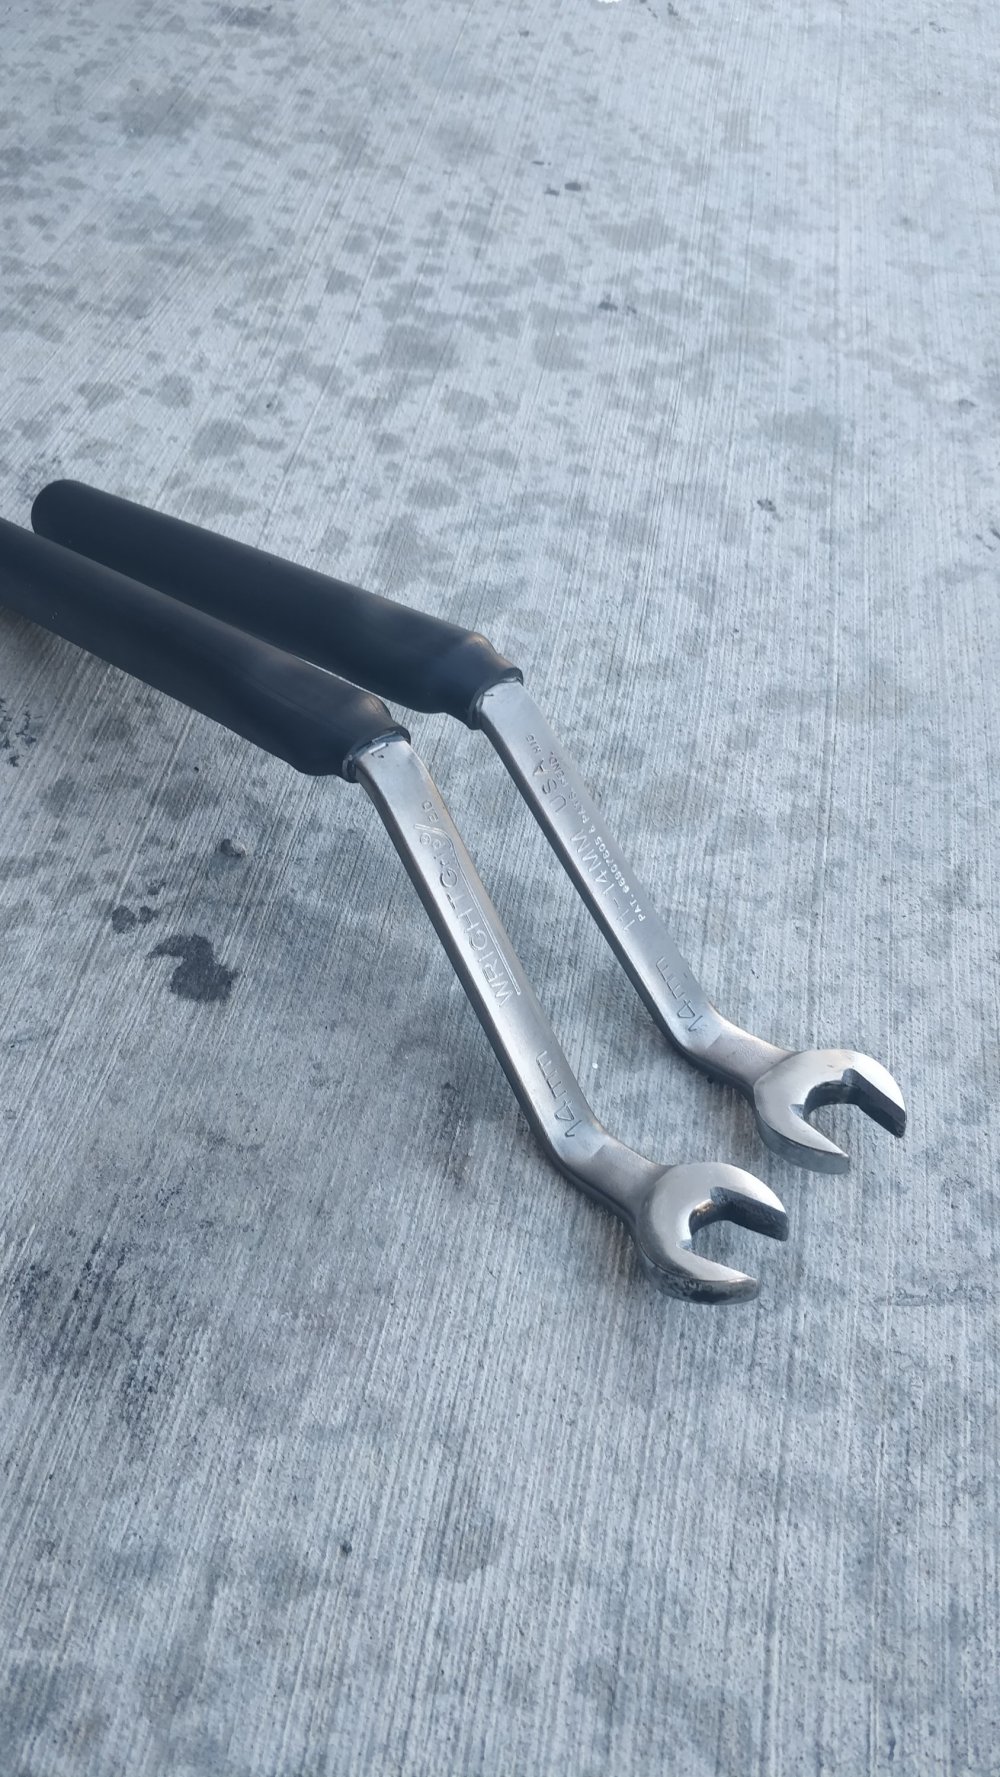
Here is a set of wrenches I ordered from https://mercedessource.com/ they are pretty expensive but, well made. You can make your own set with a cutoff wheel, welder and and some extra steel. There are some good tutorials for this on the Mercedes forum.
These pictures show what the cam looks like and the little paddle under it is what opens and closes the valve.
The adjustment needs to be done when the lobe of the cam is pointed straight up like in the second close up picture. To do this you can bump the starter but, this takes a while and you may not get it where it needs to be. I have found that using a wrench to turn the power steering pump turns the engine works pretty well. This is not recommended by Mercedes but, works none the less.
So once you figure out if it is an intake or exhaust valve and choose the proper feeler gauges you want to use the two nuts under the paddle to adjust the distance between the cam and the paddle. You want to feel slight resistance on the feeler gauge when you tighten them down. This is much easier to do with two people, one person running the feeler gauges and the other person adjusting the nuts under the valves.
Repeat until you have finished all ten valves, reinstall the the valve cover and fire it up! Be sure to look for leaks around the valve cover while its running and after running it a few days.
If you have any questions feel free to shoot me an email!
