Alright, I think I have made you all wait long enough. Its time I talk about this V8 swap into my pickup.
First, the inline 6 I had rebuilt was not built for California and they would not even emissions test it (no idea why but, whatever). So after looking at the engine swap guidelines as long as I found an engine that came as an option in my particular body style and year the swap would be legal and so began my Craigslist hunt.
After about two months of searching I happened upon a add for a 350 with a casting number of 3970010. This is the most common 350 block that Chevy made and they came in both 2 and 4 bolt main. For those that do not know the 2 or 4 bolt main refers to how many bolts are in the main bearings holding on the crankshaft. The more bolts the more performance the engine can handle basically. This particular casting number was used in all trucks, cars and basically anything GM could stuff a small V8 into from 1969-1980 and since my truck is a 1979 that makes the swap ok.
The best part about it was that it was only $300 and the guy claimed it had been rebuilt about a year ago. I went and took a look at it and it seemed to be ok so I went ahead and picked it up. The guy even threw in a pair of Hooker Headers for $40.
Once I got it home I had to get the trusty inline out. My buddy and brother-in-law both helped out a lot with this and the results of fighting the engine and trans for 6 hours are below.
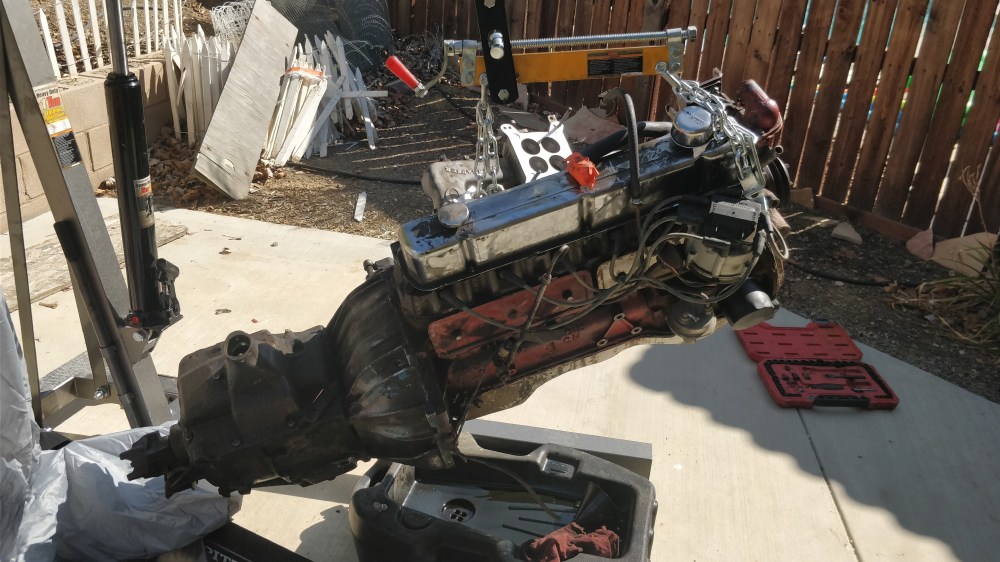
Yay! Inline 6 is out.
Next step was to unbolt the transmission from this engine and bolt it up to the new one. Since these are both GM engines made around the same time there was no need to change the bell housing to fit the V8.
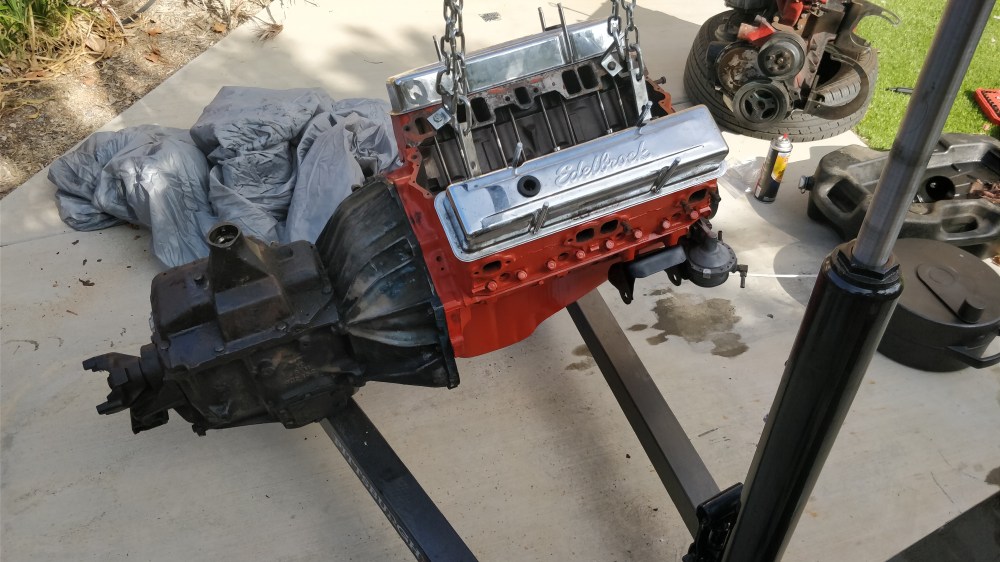
The results of fighting the transmission bolts for about 2 hours are above and not bad looking if I do say so myself.
The next thing I had to do was move the motor mounts from the “6” position on the frame to the “8” position. Since these trucks came with both 8 and 6 cylinder engines the frame was made to fit both and the only thing that needed to change was where they were bolted on.
Once that was done it was time to drop the engine in. After about another 4 hours of work, removing the bumper so my engine crane could actually reach the spot in the frame where the motor needed to sit and pinching my hand in the load balancer the engine went in nicely.

And after a bit more elbow grease I had it looking nice and shiny and running (relatively) well.
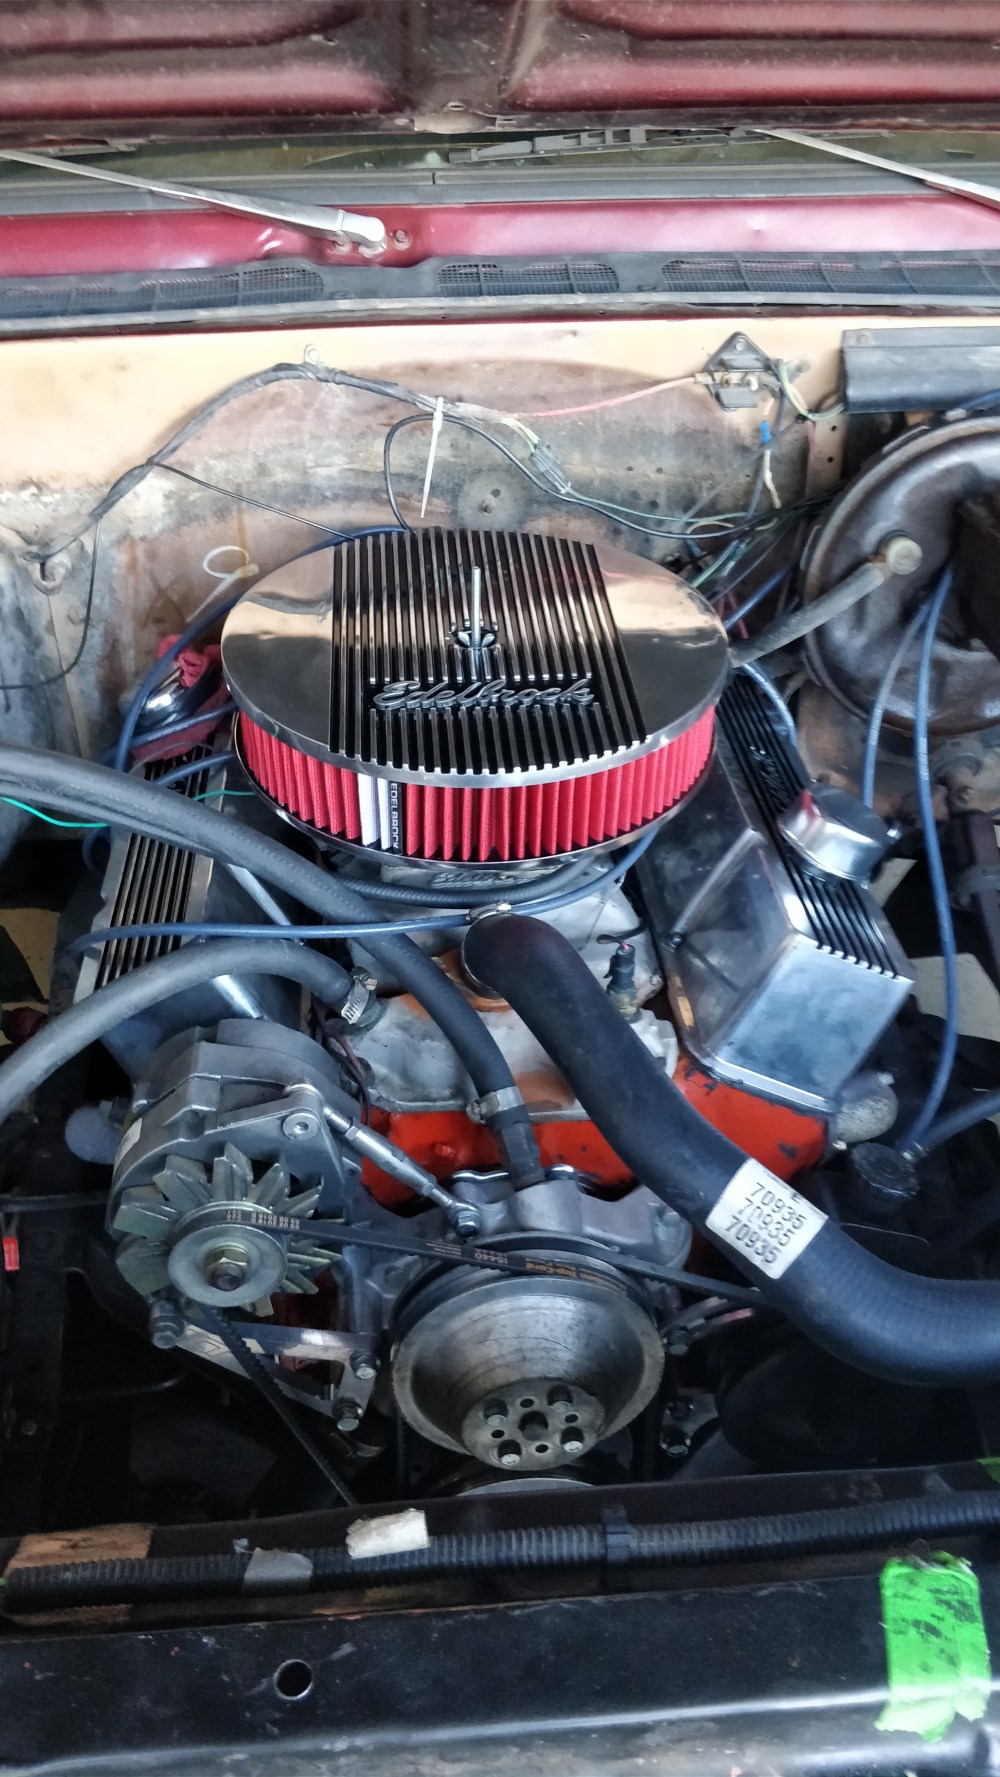
Sorry for the blurry potato picture.
I am still in the post-engine swap phase of hunting down oil leaks but, other than that the truck is much more drivable on the highway now. The low end torque of the inline isn’t there but, it has overall better acceleration, better gas milage and maintains a cruising speed of 70mph much easier now.
Hope you liked my post and as always if you have any questions feel free to contact me. In the meantime Keep Tinkering!
